|
STEP 2 - MAKING THE BLUEPLANET WIND TUNNEL MODEL
HOME | AUTOMOTIVE | BLUEPLANET | ELECTRIC CARS | ENERGY | INSURANCE | INDEX | SOLAR CARS |
|
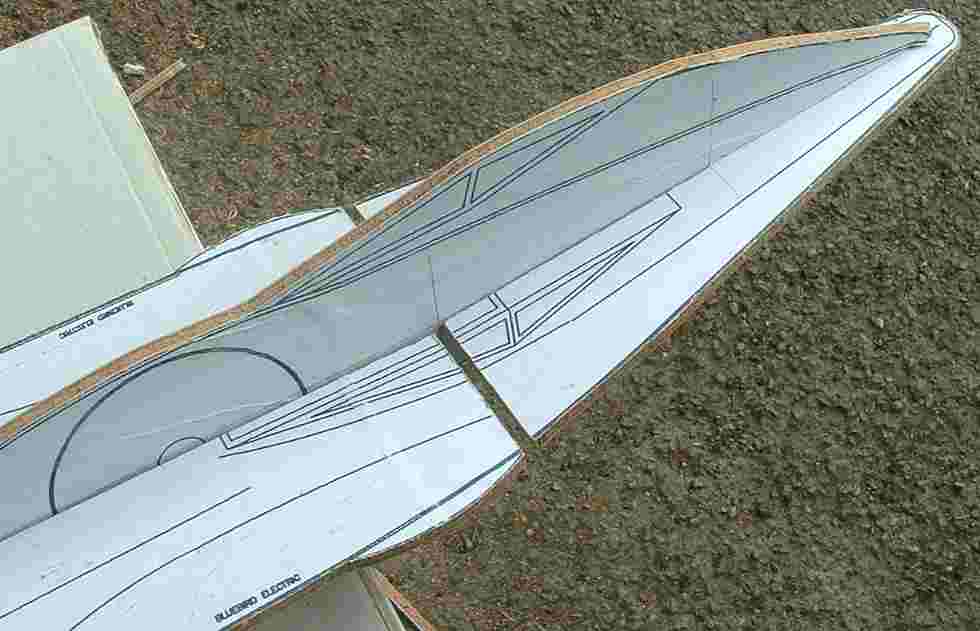
Formers assembled
Slots are cut centrally in the plywood formers to allow the plan and side elevation formers to be literally slotted together at right angles.
Its a good idea to glue the formers together using wooden blocks and screws to hold everything in place until dry. Nelson couldn't wait for the glue to dry - he used a quality PVA based adhesive (Gripfill) to bond square cut foam inserts into position to lock the formers.
Steps 1. Mark out your plywood and cut formers Step 2. Assemble plywood formers Step 3. Fill formers with foam and shape Step 4. Coat foam plug with plaster Step 5. Sand, add detail mouldings and prime Step 6. Paint finished model
|
|
LOADING-SERVO | CARTRIDGE | MOTORS | JOYSTICK-CAR WIND-TUNNEL | WIND TUNNEL DETAILS
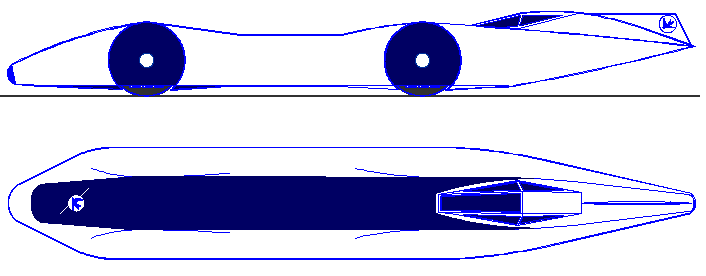
This is the kind of result you can expect from your wind tunnel - a super slippery 350+ mph electric streamliner. This particular car is charged by solar power, making it probably the world's fastest solar powered electric land speed record car. She also has battery cartridge exchange built in, for instant refueling.
|
|
The content of this website is copyright © and design copyright 1991 and 2013 Electrick Publications. All rights reserved. The bluebird logo & names Bluebird and Blue Max are registered trademarks. The BE2 and BE3 vehicle configurations are registered designs ®. All other trademarks are hereby acknowledged. Max Energy Ltd is an environmental educational charity working for world peace.
EDUCATION | E. CYCLES | SOLAR CAR TEAMS | SOLARNAVIGATOR
|


